Yogurt...Made fresh in my kitchen!

The honey, aka liquid gold, that you see drizzled is courtesy of The Gritty Girl
     Lately I have seen a lot of post from other foodies on homemade yogurt. I have to admit I was skeptical, but intrigued. Some posted about having yogurt making machines that did the trick. Well, I was not going to go out and buy any special equipment; I have enough gizmos and gadgets sitting around. Then other foodies started posting on making yogurt with items that you already have around the house, no special equipment, gadgets, or gizmos. My eyes brightened. I continued reading food blogs on yogurt making and to my excitement, it is miraculously EASY.


     There are two, yes two, ingredients needed to make yogurt from scratch. Milk and a starter. Wait, don't stop reading because I said "starter". A "starter" can be purchased online, or you can go to the grocery and buy a container of.....yogurt. That's right, just a single serving container (about 6oz) of yogurt will do the trick. I bought Stonyfield Farm brand. I like it because it contains 6 live active cultures, compared to 4 with some other brands. I would recommend getting full fat or low fat yogurt and plain (if you can find it, I couldn't and used vanilla). On to the subject of milk, buy whole milk or 2 percent. Otherwise the result of the yogurt will be runnier.  I purchased 1%, it was a dollar, I am cheap and I was still skeptical on this homemade yogurt thing. My yogurt is set, but runnier than I would have liked. It tastes good! I guess that is the main thing. Plus the homemade granola I made this morning tops it nicely, and makes up for its runny consistency.


  Okay, you know the ingredients, now for the equipment. You will need a pot, thermometer (not necessary, but handy for precision), whisk, bowl, storage containers (I used glass bowls with lids), warming source (this can be anything from a heating pad, oven, crockpot, etc...), and towels. That's it. Nothing fancy schmancy here. I used my dehydrator for one batch and heating pad for another. Needless to say the heating pad worked wonderful. My dehydrator kept it too warm, so I would not recommend this method of incubating. If you use your oven, set it on warm or the lowest temperature, warm it up, then shut it off. You will wrap your container (with lid) in a towel to help insulate it, so please, PLEASE, make sure your oven is OFF and only warm. I wrapped up the heating pad and container and left it on low. If using a crockpot check out this method from A Year of Slow Cooking. This site gives you a step by step on how to make the yogurt using your crockpot. I find it more time consuming than other methods, but if you have it, use it.


      Let's talk flavors. You can flavor your yogurt however you wish. I am a plain kind of girl. My feeling on this is that if I have plain yogurt I can flavor it anyway I see fit. For example, if I am wanting strawberry yogurt, I add strawberry jam and mix it up. I feel that my opportunities are endless with plain yogurt.  I also use plain yogurt in place of sour cream or milk sometimes. If I have only strawberry yogurt then I can't replace or substitute, and that is not fun for me. So I will continue to be a plain kind of girl, because behind those plain girls there are always many opportunities of FUN;)


    I recommend you at least try making your own yogurt. Add it to your bucket list and do it soon. The taste is clean and pure. You don't have any added sugars or chemicals. It is quick and easy. Yogurt is a superfood, it is healthy for you and does amazing things. Why pay to buy yogurt in the grocery when it takes less effort to make it? Make it with your kids, teach them that not everything has to be bought at the store. Get back to basics. Leave the sugary processed goop behind and broaden your horizons. Another added benefit, the WOW factor. When you started reading this and I told you I made homemade yogurt, you were amazed and wowed! The process is easy. Now go out and amaze and WOW your family and friends!


HOMEMADE YOGURT

1/2 gallon of whole milk
4-6 oz container of plain yogurt (not fat free)


1. Add milk to a pot large enough to hold at least a half gallon of milk. Heat until just before boiling (200 degrees), stirring gently and often to prevent scorching.

2. Let the milk cool until it is just hot to the touch (112-115 degrees). To speed up the process set pan in an ice water bath and gently stir.

3. Pour about a cup of the warm milk into a small bowl and whisk in the yogurt. Once it is smooth whisk the mixture back into the pan.

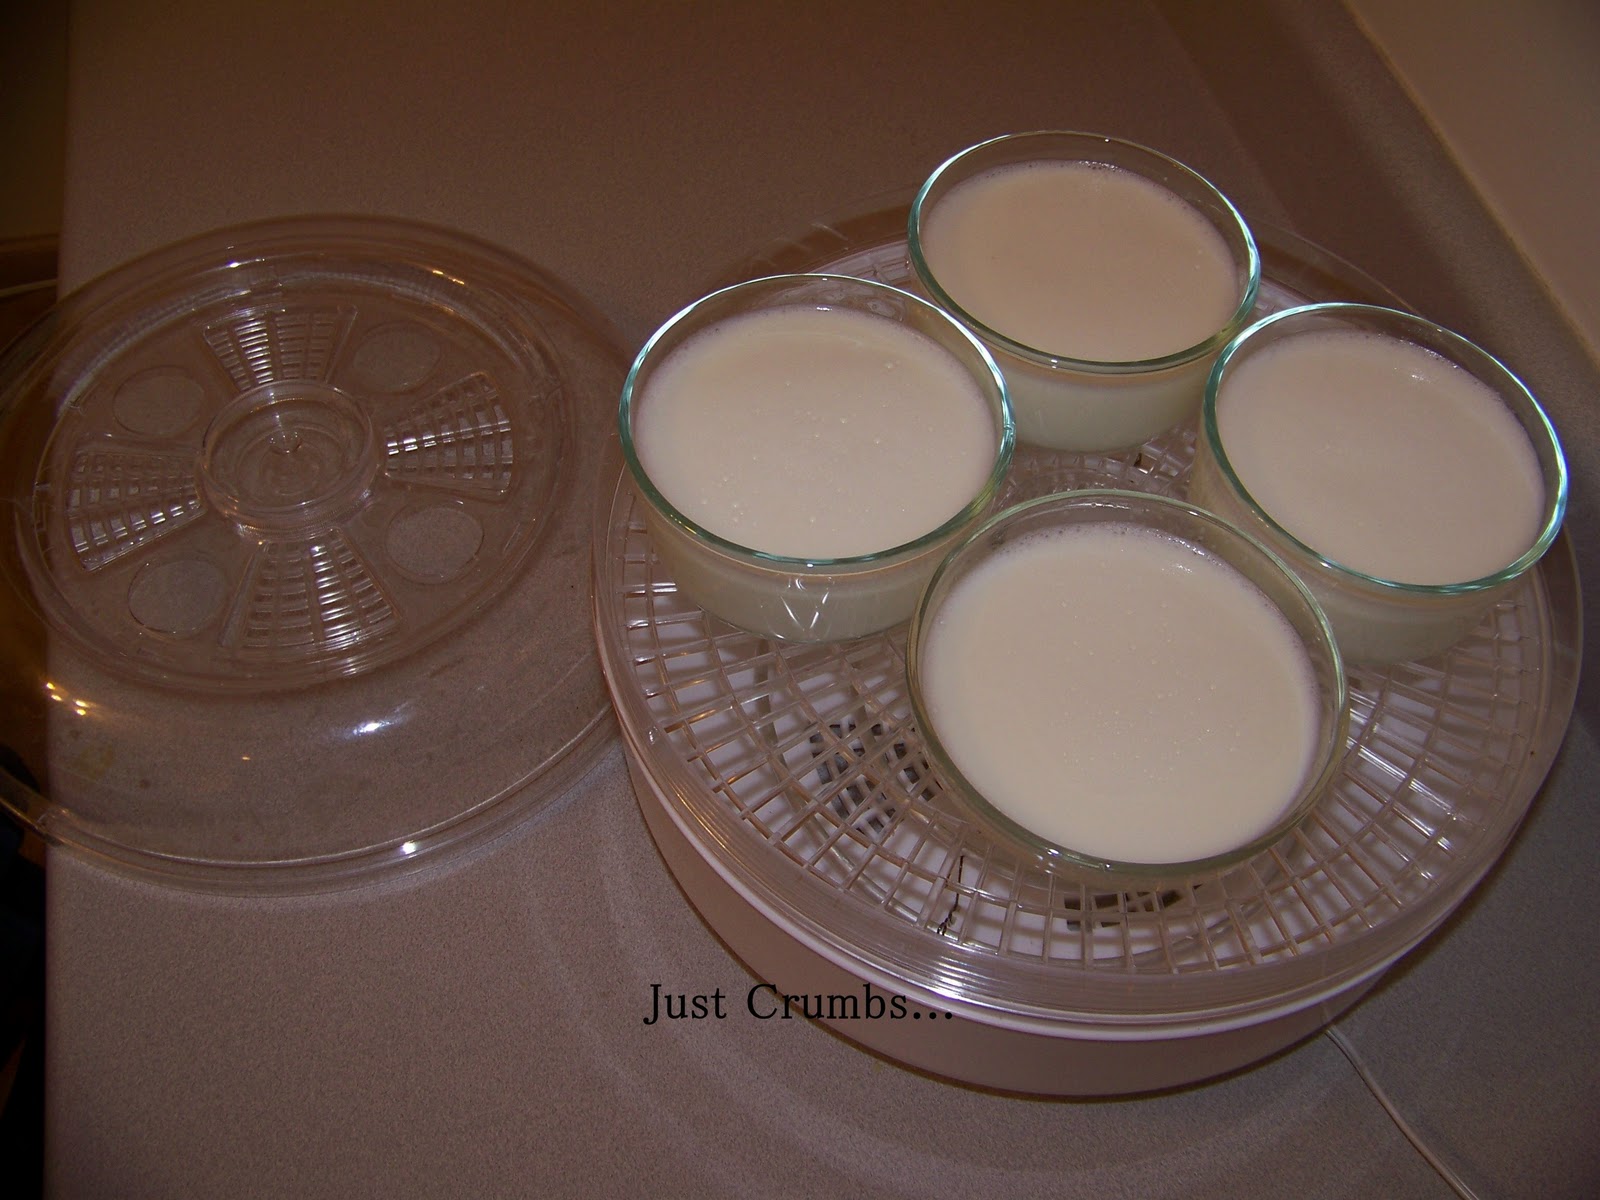
4. Pour into container(s), wrap with towel, and keep warm (using the method of your choice). Let sit  for 
8-12 hours. The longer the yogurt sits the thicker and more tangy it will become. Taste it around 6 hours, if it tangy and thick enough for you, take it out.

5. Chill. Yogurt will last 2 plus weeks in the refrigerator. If a watery whey forms on top, strain or stir back into the yogurt.


Paczki Time!


     Welcome to Fat Tuesday. Tomorrow is Ash Wednesday! It is time for the traditional Paczki celebration. Originally Paczki were made to use up lard, sugar, eggs, and fruit because they were forbidden during the Lenten season. It is a day to indulge in these spherical deep fried pieces of dough filled with a sweet filling, and boy did I. 
     This year I decided to make my own. Making Paczki was a first for me, and so was frying. I have never fried anything in my life and was a little skeptical on how this part was going to pan out. The pastry I figured I could deal with, it is like any other kind of sweet yeasty dough. You beat the eggs, add sugar, butter, yeast, flour, etc... let it rise, punch it down, let it rise, roll it out, cut, stuff, seal and then.... Then you add it to the hot grease. Grease, that I am very unsure of. And the question of "how do you know if the middle is done?" There is not a toothpick test in this situation. After hesitation. I added a little dough scrap as a tester. It sizzled and turned brown. OK, I can do this. After more hesitation, staring into the hot oil, I slid my first couple Paczki into the pot. They puffed and started turning golden. I flipped them over, they turned golden on the other side. Back to the question "How do you know if they are done or not?" I am still not really sure. I know that an oil thermometer helps and when the oil is 365 degrees then it is optimal for frying. A few of my Paczki were a little doughy on the inside, more like tacky. I think that my oil was hotter than 365 degrees. I actually had no idea, for I do not own an oil thermometer. For my first try at both, I think that they turned out amazing. Plus leaving them a little doughy was a bonus, because not all the brandy cooked out of them and the taste was quite delightful. 
     Next year I will definitely be making these again. It was not a difficult process. I did it over a two day time span, refrigerating the dough for its second rise, leaving it over night and then when I came home from work, I removed from the refrigerator and let it come up to room temperature while I made dinner. After dinner I punched it down, rolled it out, cut out my circles, placed my filling in the center, sealed with a top, and placed in the hot oil. Drained on paper towels. Then glazed. I let them sit overnight for the glaze to set and packed them up this morning to take to work. It does take time, but the end result is worth every minute of it. Plus everyone will think that you are a Rock Star! I made Apricot, Blueberry, and Strawberry. Flavor with your favorite preserves to make it your own.


POLISH PACZKI

  • egg yolks 
  • 3 whole eggs
  • teaspoon salt
  • 2 packages active dry yeast
  • 1/4 cup warm water
  • 1/3 cup room temperature butter
  • 1/2 cup sugar
  • 4 1/2 cups flour
  • 1/3 cup rum or 1/3 cup brandy
  • cup scalded whipping cream
  • 1 1/2 cups preserves 
    • oil (for deep frying)
  • Directions:
    1 Beat eggs and yolks with the salt in a bowl with an mixer at high speed until the mixture is thick and piles softly, about 7 minutes. Set aside.


  1. 2 In a small bowl add yeast w/warm  water.
  2. 3 In another bowl cream butter, add sugar to it gradually, beating until fluffy.
  3. 4 Slowly beat in the softened yeast to the sugar mix.
  4. 5 Stir one fourth of the flour into the yeast/sugar mix.
  5. 6 Add rum/brandy and half of the cream.
  6. 7 Beat in another fourth of the flour.
  7. 8 Stir in remaining cream.
  8. 9 Beat in half of the remaining flour and then the egg yolk mixture.
  9. 10 Beat for 2 minutes.
  10. 11 Gradually beat in the remaining flour until the dough blisters.
  11. 12 Cover the bowl with plastic wrap.
  12. 13 Set in a warm place to rise.
  13. 14 When it has doubled in bulk, punch it down.
  14. 15 Cover and let rise again until doubled (I did this in the fridge).
  15. 16 Punch it down again.
  16. 17 Roll dough on a floured surface to about 3/4 inch thickness.
  17. 18 Cut out 3 inch rounds using a cookie cutter or glass.
  18. 19 Put 1 tablespoon of filling in the center of half the circles.
  19. 20 Brush the edges with water.
  20. 21 Top with the remaining rounds.
  21. 22 Seal the edges very well.
  22. 23 Cover the paczki on a floured surface.
  23. 24 Let rise about 20 minutes.
  24. 25 Deep fry in the hot fat until they are golden brown on both sides.
  25. 26 Sprinkle with powdered sugar, granulated sugar, or drizzle with glaze. 
  26. 27 Cool

Limburger


I wanted to do a quick post to open your eyes to Limburger Cheese. I have always heard horror stories of Limburger. It is smelly. Eww, that is gross. Smells like_____________ (fill in the blank), etc... These comments have honestly intrigued me.

The other night I was out to dinner with my good friend G, and I asked her opinion of Limburger Cheese. She really likes it. She shared the memory of eating it with her dad (may he rest in peace) while watching movies. She said that they always ate it smeared on bread and topped with onions. I knew then I had to try it.

The Limburger is the cheese with the candy cane spreader
(I know Christmas is over, but the spring spreaders are still packed away)
Today I purchased my first ever Limburger Cheese. I added it to my cheese plate along with some Gorgonzola, Gouda, Goat, Parmesan, and Mozzarella. When I cut into it, yes, it was "smelly", but nothing overwhelming. There are other "smelly" cheeses that fit into the same sharp smell category that this cheese produced. I tried it three different ways. The first all by its lonesome. The taste was fishy. Not a bad fishy, but like fish sauce in Asian cooking. The second was on a cracker. It was better. And the third was on bread with sliced onion. This was the best. I even added some of the red pepper pictured above and it was over the top. All the components complemented each other nicely. This is the way I will eat the remaining of the Limburger.

I need to tell you that a little of this cheese does go a long way.  If you do try it,which I encourage you to do, put just a thin smear on your cracker or bread. When you find yourself in the cheese department of the grocery and you pick up that small square package, let me know what you think. As for me, I will purchase it again. It is not my favorite, but it is different and now I can say that I have had Limburger Cheese. Heres to you G, Red, and movie night!